
by Sally Gregson.
Sowing seed collected from the garden is one of the most satisfying jobs in the horticultural calendar. Open the paper envelope and out tumbles the promise of another summer, another year of flowers, another year of fresh vegetables.
Ideally the seed should have been stored somewhere cool – about 5 degrees centigrade, dry and dark. An ice-cream box in the fridge fits the bill perfectly.
Tip out the seeds onto the work-bench and work out how many resulting plants are needed.
With most fresh, home-collected seed it’s wise to allow for about a 10% loss at each stage – germination, pricking out and potting up. Plus, an extra pinch.
And keep the seed in case of disasters – the cat using the seed tray as only cats do, or butter-fingers. Seed-sowing still works up to a month or so later. Try to resist the temptation to grow too many plants. Remember the limitations of space for pots at the next stages.
Fill the seed-tray almost to the top and tamp down the soil level with another empty tray squashed on top.
Sprinkle the seed thinly over the surface – seed sown too thickly leads to straggly growth and damping-off. Cover the seed with grit, sharp sand or vermiculite, to prevent too much moisture around the germinating seedlings. And stand the seed trays in a larger tray filled with water.
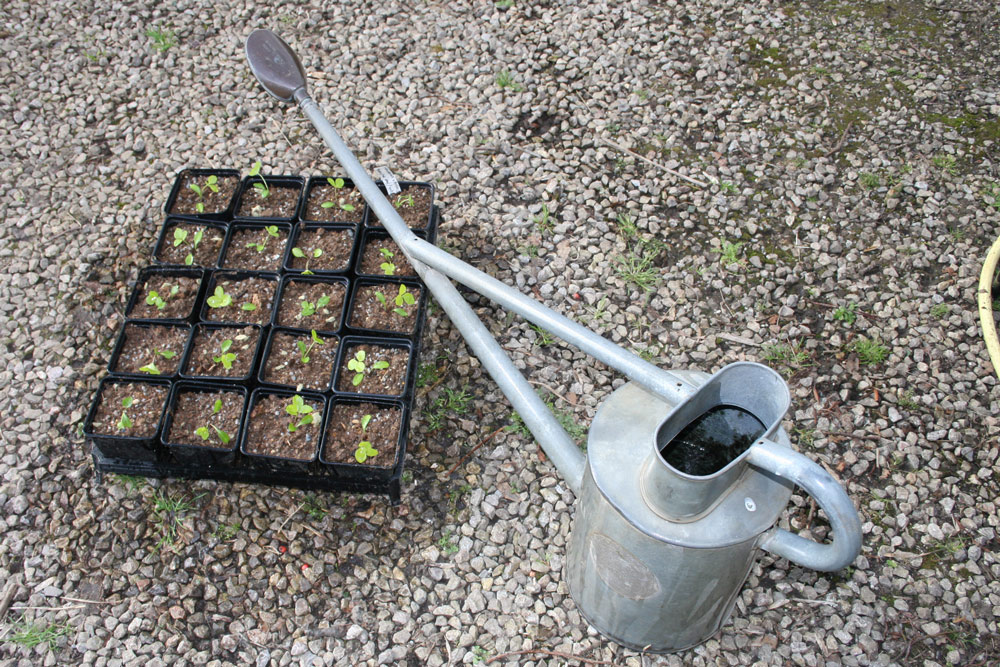
Watering them with a watering-can often causes them to float off into the corners. Label the tray with the name and date, and put it in the cold frame, greenhouse or somewhere frost-free yet not too sunny.
And keep a close eye on the tray to check for germination. Once the seedlings are showing their seed-leaves they may need watering and thinning. Then prick them out either into another tray at regular spacing or into small pots of compost, according to their size. Once May comes it will be time to harden the little plants off, ready to plant out by the end of the month.


Leave a Reply